


Table of Contents
Tighten and check the harness
Please note the following:
1.
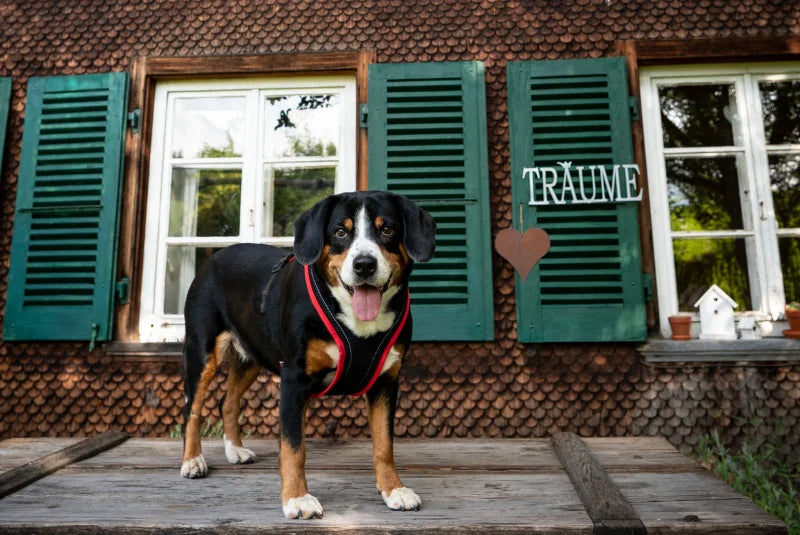
Chest strap: The chest strap should not be higher than the sternum; in other words, the strap should start at the level of the sternum.
2.
Waist straps: There should be enough room for three fingers to fit under the waist straps.
 to the size chart
Adjusting the waist belt
If the harness is adjusted harness , it should fit loosely—there should be enough room for two fingers under the waist straps.
To adjust the waist straps, pull on the slider.


Slider
Adjusting the chest straps
First, locate the dog’s sternum—this is the bone that protrudes slightly at the base of the neck.
1.
Ideally, the chest strap should be at the level of the sternum.
2.
The length of the strap should be adjusted so that the dog can still move freely.
To adjust the chest straps, you need to move the slider.

Why is the harness adjusted harness ?
If the harness is adjusted harness tightly and the pull harness at an angle on the harness , the dog’s spine will twist, which is not good for the dog.
harness , if the harness is adjusted loosely (properly), the harness can rotate harness to 8 cm before the pull is applied. This prevents the dog’s spine from twisting.
harness the dog is walking, it makes a short shoulder movement; however, when trotting or galloping, the shoulder movement is long.
harness the harness is tight, the dog cannot move freely because its shoulder movement is restricted.
However, if it is loose, the dog can move freely, even when trotting or galloping.

Correct application

When used during training, one end of the leash should be attached to the chest ring of the harness, and the other end to the top ring.
Important points regarding leash handling during training:


This makes it easy to guide and correct the dog, whether to the left, right, or to slow down.
3.
The leash should not be attached to the front ring alone. The harness not suitable for use with a drag line.
Anti-pull training
The Dog Harness Guide includes a chest ring. This should only be used in combination with the ring on the back.
Here’s how it works:
If the dog is on your right, hold the part of the leash attached to the top of the dog with your right hand. Hold the end of the leash attached to the bottom of the dog with your left hand. (If the dog is on the other side, do the opposite.)
The three-step principle:
Step one: If the dog needs to be corrected, it receives the first signal audibly.
Step two: If the dog shows no reaction, give a gentle tug on the rear ring. (right hand)
Step three: If there is still no reaction, turn 180° and pull the dog with your left hand (the hand holding the lower part of the leash). Then wait until the dog is calm. Only then should you continue the training.
Pulling on the chest ring should only occur at the third step. Otherwise, the leash should remain loose.

To the harness:
The Guide training harness is designed solely for correction.
Care Instructions:
The harness be washed in a laundry bag at 30°C in the washing machine or by hand.
Use a mild detergent, but avoid fabric softener, as it can have adverse health effects on your dog.
You can hang it up to dry.
The harness not be put in the dryer or ironed.


Safety instructions:
- Check the harness for damage before use
- Never leave the dog tied up unattended
- If the harness is harness tight, it can cause tension in the dog
- The Guide training harness is not suitable for use as a car safety harness
- The harness is not intended for 24/7 use
- The harness not be used with a lead.
If you're unsure about sizing or adjustments, or if you have any other questions, we're happy to help and advise you—whether by phone, email, or in person.
E-Mail


